Perspective
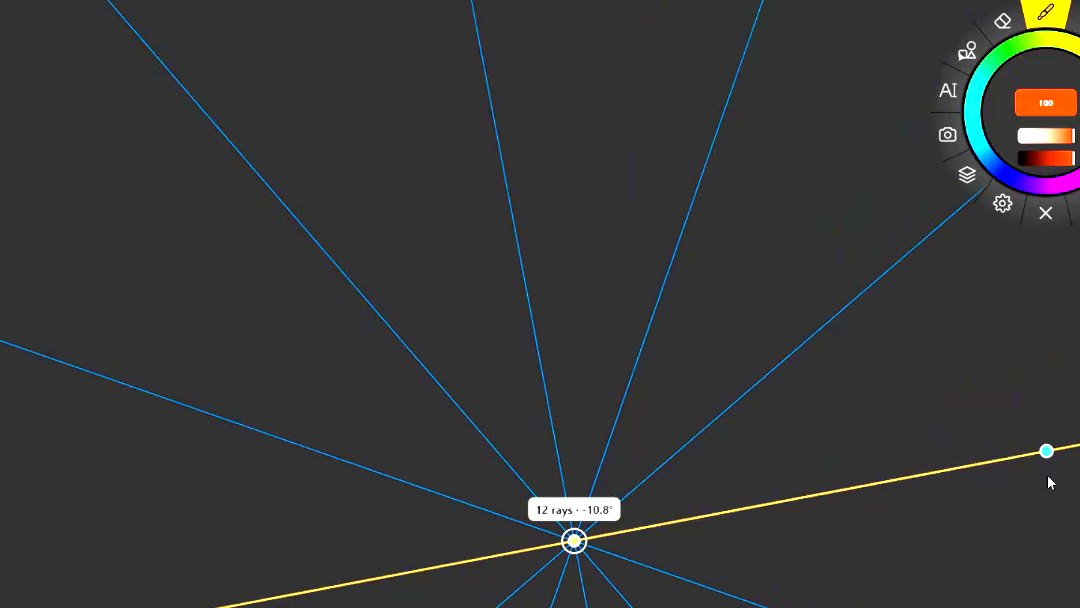
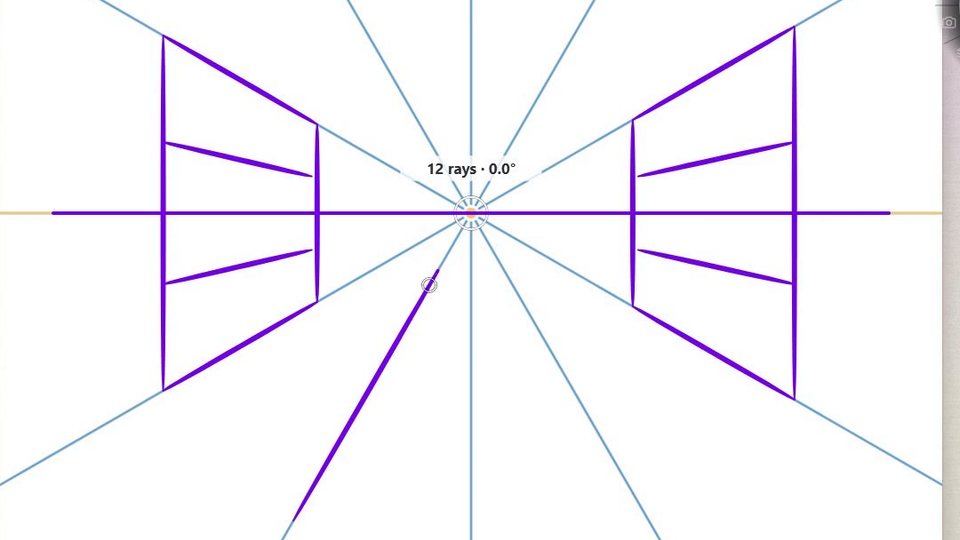
One vanishing point and a fan of rays through it, across the whole screen — draw along the rays and everything recedes to the same point.
Using it
Hold the Measurement slot and choose Perspective.
- The vanishing point — the concentric rings — can be dragged anywhere; the fan moves with it and keeps its angle.
- The rotate handle, at the end of the dashed amber line, turns the whole fan. Shift snaps it to the spacing between rays.
- The base ray is amber; the others are blue.
- The badge reads N rays · angle.
- Draw along it: brush strokes snap to the nearest ray (Snap brush to rays in the measurement properties).
How many rays
Set Rays in the measurement properties, from 3 to 48. Twelve — the default — gives a ray every 30°; more rays give finer control near the vanishing point.
There is one vanishing point. For two-point perspective, draw what you need with one point in place, move the point, and carry on: your strokes stay where you drew them.
In the studio
Put the vanishing point on the horizon of the reference photo underneath, raise the ray count to 24, and block in the buildings along the rays — then switch the guide off and draw the detail freehand.